How to Tag Your Items
- Use the tag template provided on this page, to the right. All items must be tagged using this template.
- Print tags on white card stock.
- Each tag should have your consignor number on it. This is critical, as it is only way to link the items with you. This is how we will keep track of how much you sell. Items missing a consignor number cannot be sold.
- If clothing, be sure to mark if it is for a girl or boy. Be sure also to include the size. Clothing will be organized by gender and size, so labeling will help speed up the set-up process.
- Give a brief description of the item, for example “wooden puzzle” or “red Gymboree dress with matching leggings.”
- Mark the donation spot on the tag if you would like that item to be donated if not sold. If left blank, the item will be returned to you after the sale.
- During the last hour of the sale (from 1-2 p.m.) items marked for donation will be offered to the public at half price. This mark also indicates that the item, if not sold, will go to the donation pile and not returned to the seller.
- Choose a price for your item. Please price in $.50 increments. See “Pricing Suggestions and Selling Tips” for more information.
- REMEMBER: If you are selling brands that size using European measurements (example: 130), please write the brand’s size AND the American equivalent. Buyers will not have catalogs or sizing charts on hand. This will help place the item in the correct size category as well.
Attaching tags to your items
- Please use either a tagging gun or a large SAFETY pin to attach your tags to clothing, blankets, etc. Other methods of attaching tags (staples, tape, straight pins) could damage the item and will result in the item being pulled from the floor.
- Use STRONG clear tape (packing tape) or string to attach cards to plastic toys.
- For shoes: tie shoes together using laces, string, or zip ties. Ballet slippers or any other shoe that will not tie together well can be placed in a Ziploc bags. Attach tag to the sole of the shoe (or outside of bag).
- All clothing should have tag safety pinned on the garment’s left side (the right side if you are facing it), preferably in upper corner.
- If you are using a tagging gun, pierce through the tag an inch below the top edge – the tagging gun barb tends to rip through the tags if they are pierced too near the edge of the tag.
- Clothing with multiple pieces should be pinned together. Do not place entire outfits in bags (unless selling onesies or pairs of socks)–bagged clothes do not sell as well. You may put accessories or smaller pieces in bags and attach them to the outfit, however.
- Outfits with matching pieces should be hung for easier display.
- For items that will hang, the hanger hook should be facing left with the tag safety pinned on the garment’s upper left corner (right if you are facing). To see a list of which items should go on hangers, see “Preparing your items.”
Did I do this right?
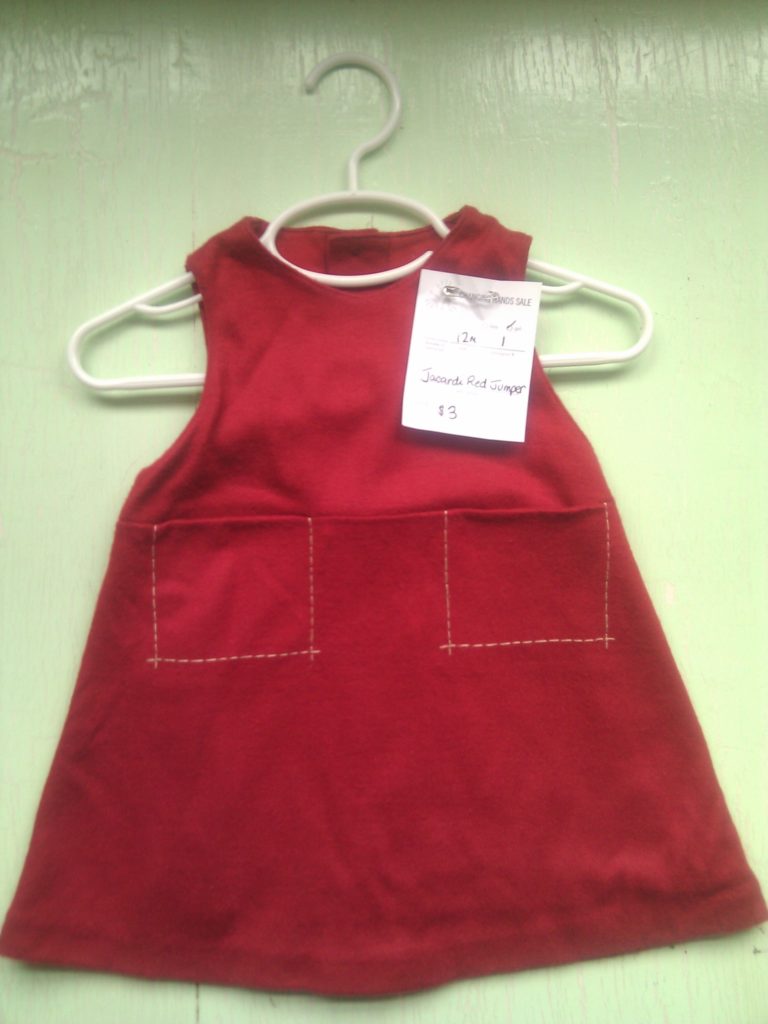
Make sure your pin goes through the tag, through the clothing, back through the clothing, and tag for security. Do not simply pierce tag and clothing once.
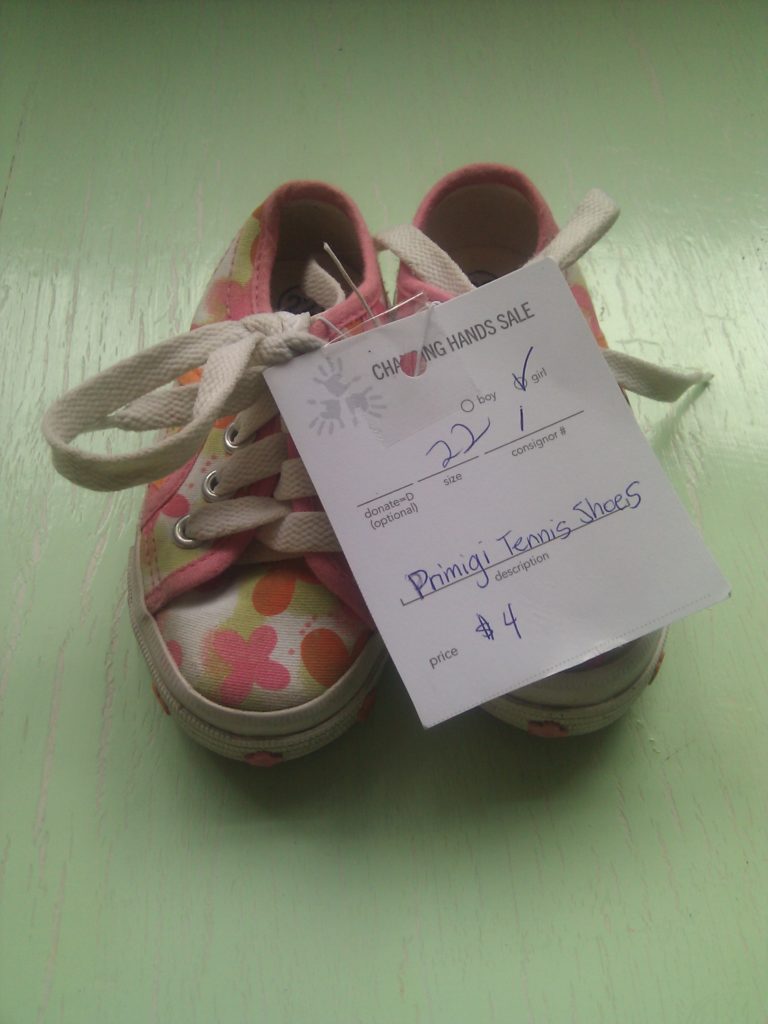
Shoes should be tied together (through a secure loop or hook on shoes) with string, twine, or zip-ties. The tag can be laced through the tie (the punch hole reinforced with tape) or can be taped to the bottom of one shoe.
Books and games are more delicate than hard plastic toys. To attach tags securely, but without risk of damage upon removal, you can use blue painter’s tape or artist’s tape (available at stores like Artist’s Supply Warehouse in Kenwood). Be sure if you are selling a game or puzzle, that you tape the box shut! Otherwise, we could have a big mess when someone flips it over–500 pieces can take a long time to pick up.
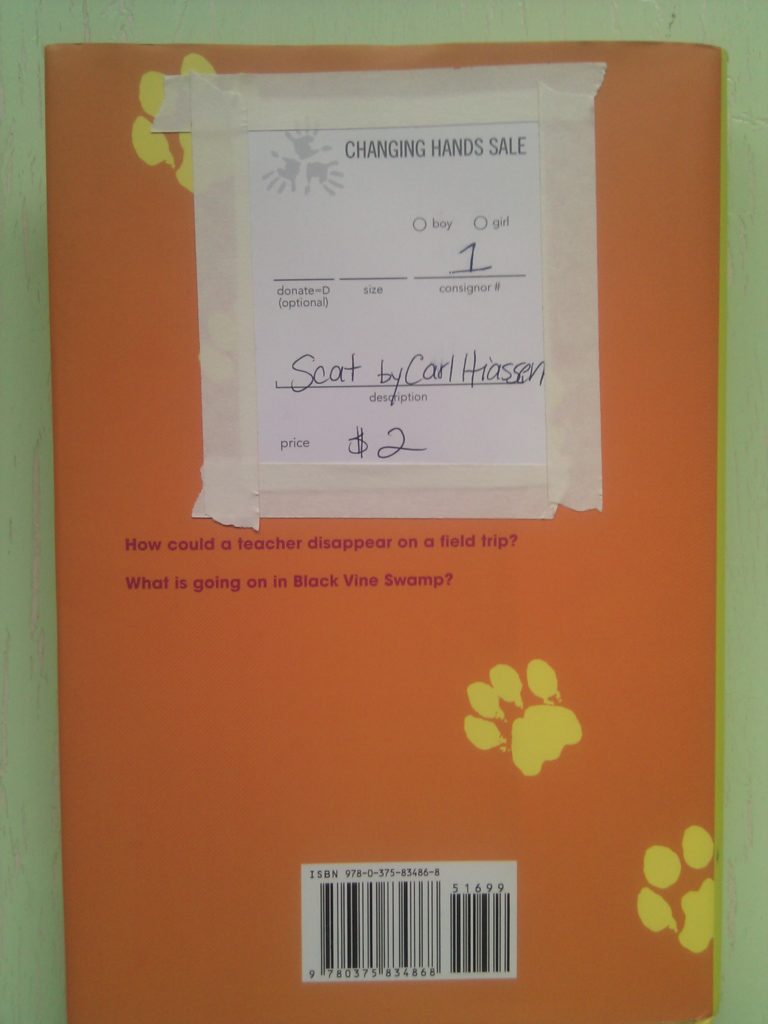

Tagging Made Easy
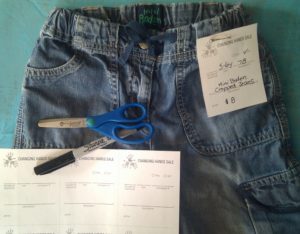
Grab your item, tags printed on cardstock, scissors, a marker or pen, and a safety pin.
Download CHS Tags 🔗
